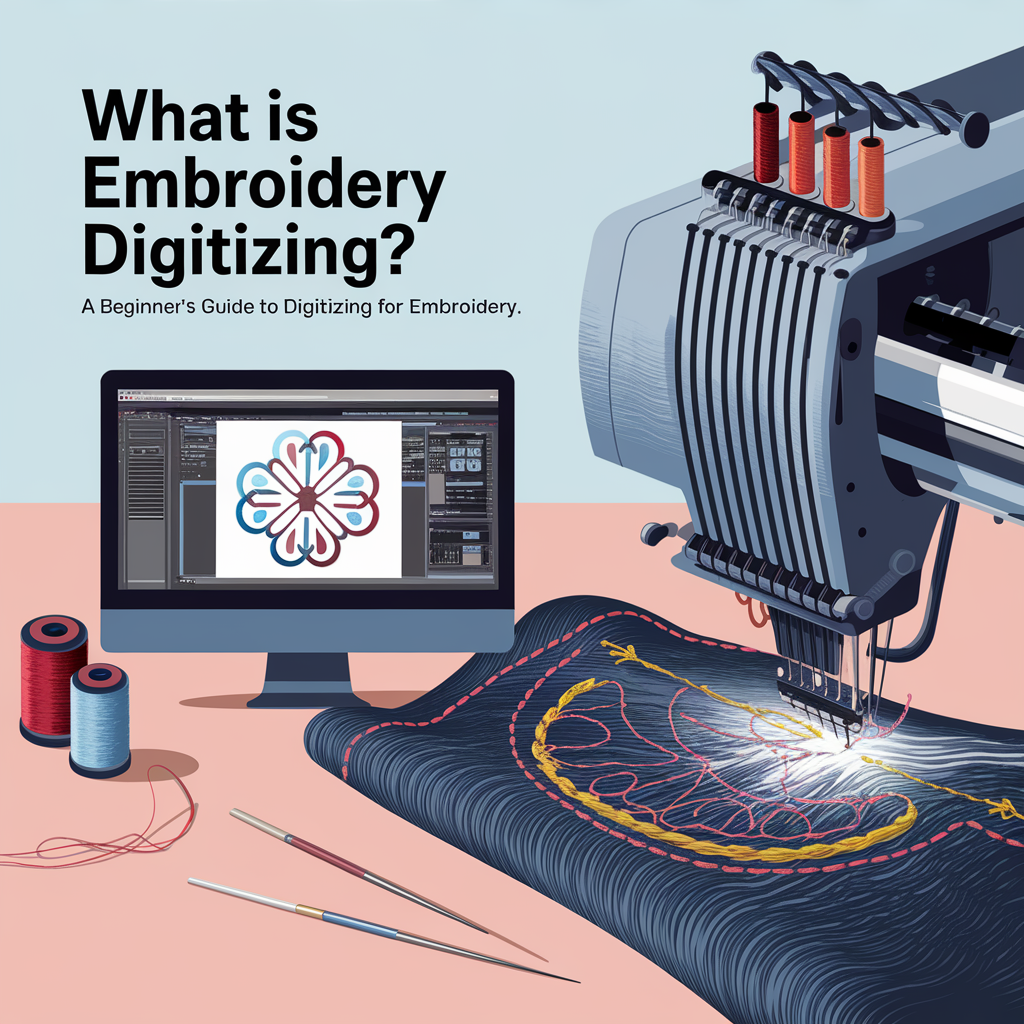
Embroidery digitizing is the art of turning artwork into a computer file tha
t the embroidery machine can read and embroider onto fabric. The computer
file holds instructions for the machine, including type of stitch, direction, density, and sequence. From personal logos, intricate designs, and custom motifs to any piece custom-made, digitizing is the secret to new embroidery.
Here’s a breakdown of everything you want to know about embroidery digitizing, from the inside workings to some hints for a novice. Let’s get started!
What is Embroidery Digitizing?

Embroidery digitizing is the process of taking a design—a logo, piece of art, or text—and converting it into a stitch file that the embroidery machine can read. Manual embroidery is performed by hand, but digitizing employs special software to produce a repeatable and precise design.
The computer file (typically in DST, PES, or EXP format) instructs the embroidery machine precisely where to place each stitch, what kind of stitch to use, and how to put it all together. This produces consistent, high-quality results time after time.
How Embroidery Digitizing Works?
Digitizing itself is the following process:
Artwork Preparation
- The artwork is cleaned up and streamlined so that it will work well as stitches.
- Complex designs can be subdivided into sections or layers.
Selecting Stitch Types
- Various stitch types are employed for various uses:

- Satin Stitches: Suitable for shiny, smooth lines (ideal for text and borders).
- Fill Stitches: To fill large areas of color.
- Running Stitches: For detailed work and fine lines.
Selecting Stitch Direction and Density
- Stitch direction determines overall appearance and texture.
- Stitch density also controls how close the stitches are packed together. Too close, and the fabric puckers; too far apart, and the design becomes thin.
Testing and Refining

- The digitized design is then tested on scrap fabric to ensure there are no errors or problems.
- Refinements are made to enhance the end product.
Why Digitizing Matters?
Digitizing is necessary in order to produce professional-grade embroidery. Here’s why:
- Accuracy: Digitizing allows each stitch to go exactly where it will.
- Consistency: A digitized design will be made exactly the same way, all the time.
- Customization: Digitizing makes unlimited customization, from logos to complex patterns, possible.
- Efficiency: It’s quicker to do and less prone to errors than hand embroidery.
Common Embroidery Digitizing Challenges:
Digitizing can create amazing things, but it’s not perfect:
Thread Breaks:

- Due to improper stitch density or tension.
- Solution: Adjust stitch density and test on similar fabric.
Design Distortion
Has happened when fabric stretches or shifts while stitching.
- Solution: Employ stabilizers and hoops to keep fabric tensioned.
Small Text or Intricate Details
- Very tiny details may lose definition or be messy-looking.
- Solution: Redesign using simpler details or larger size.
Tips for Beginners:
If a beginner at embroidery digitizing, try these steps to begin:
1. Start Simple
- Begin with simple designs and gradually move to the more complex ones.
2. Use Quality Software
- Invest in quality digitizing software such as Wilcom, Hatch, or Brother PE-Design.
3. Test Your Designs
- Always test your digitized design on scrap fabric prior to sewing the final product.
4. Learn from Mistakes
- Learn what went wrong and use adjustments for the next project.
Conclusion:
Embroidery digitizing is a technology with great potential to bridge the difference between art and technology. Being a business person who wishes to design personalized clothes or a consumer who wants to venture into new creative horizons, knowledge about digitizing is essential for attaining professional outputs.
If you’re ready to take your embroidery projects to the next level, consider partnering with a professional digitizing service or investing in digitizing software. With practice and patience, you’ll be creating stunning embroidered designs in no time!
Call to Action (CTA):
“Explore our blog for more tips and guides on embroidery and digitizing.”

